
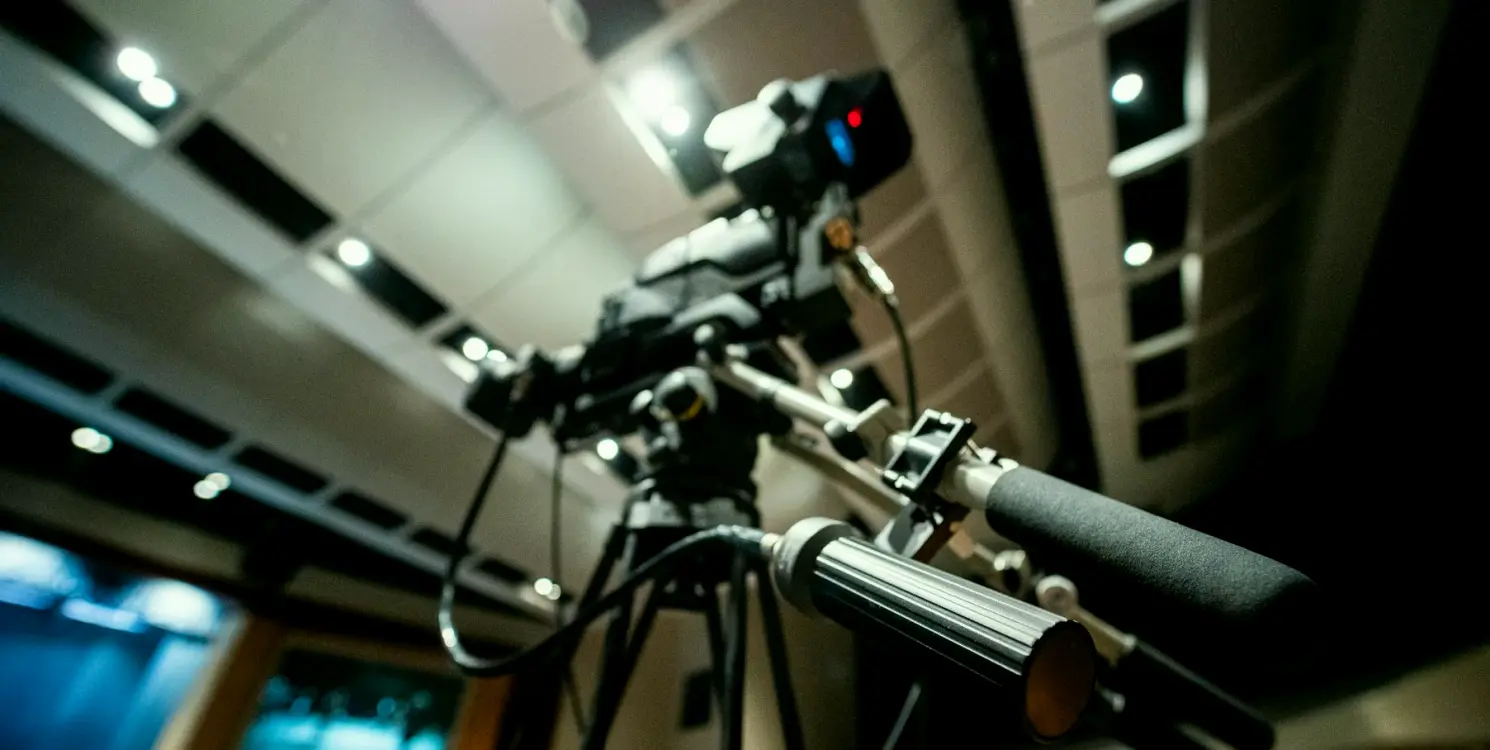
Lighting a Regional Panel Show: Notes from Rosa's Studio
A short account of how a small regional broadcaster, represented here by its producer Rosa, rebuilt a flat, shadowy panel set with a measured LED plan and a rig that holds steady through long
The brief from Rosa
Rosa produces a weekly panel programme for a small regional broadcaster, recorded live in the early evening. When she first called us, her complaint was simple: guests looked tired on screen, the host's face went orange under one camera and grey under another, and the back wall swallowed the set. She had tried moving a few fixtures herself, which only changed where the problems appeared.
We arranged a visit on a recording day so that we could watch the programme as it actually ran, not as it looked during an empty afternoon. The studio was a converted warehouse bay with a low grid, a four-seat desk and three cameras. Our first task was to listen to what Rosa's crew already knew about the room, because they had learned its habits over many months.
What we found on the first visit
We measured before changing anything. Colour temperature varied from one fixture to the next, some of the older units had drifted, and a few were mixed with daylight leaking through a high window. The key light sat almost level with the guests, which flattened faces, and nothing separated the people from the wall behind them.
Cameras also disagreed. Camera one saw a warm picture, camera three a cooler one, and the vision mixer was being asked to correct that live. We noted every fixture, its height, its throw and its output, and drew the existing layout on a single sheet so that Rosa could see the problem as plainly as we did.
- Mixed colour temperatures across old fixtures
- Daylight from a high window altering the picture
- Key light too flat and too close to eye level
- No separation between guests and the back wall
The lighting plan we drew up
The plan followed the usual order: key, fill, then background. We proposed softer LED panels for the key, set higher and angled in so that eye sockets stayed open without harsh shadow. A lower, broader fill took the edge off the shadow side, and two small fixtures lit the back wall with a slightly deeper tone so the guests stood out from it.
Everything was specified at a single colour temperature, and the window was dealt with by blackout material rather than by trying to match it. Rosa asked whether fewer fixtures would do. For three cameras and a four-seat desk we felt not, but we kept the count modest and made each fixture earn its place.
Rigging and balancing on the day
Rigging took a day and a half. The grid was low, so we chose fixtures with compact bodies, secured each with a safety bond and ran cabling along the existing routes so nothing crossed the walking path. Tom set the heights and angles from the plan, then we brought the crew in to sit at the desk while we adjusted.
Balancing is where the work becomes quiet and slow. We went camera by camera, comparing skin tones on the monitors, then matched the three pictures against each other until the mixer no longer had to correct anything. We marked each fixture position on the grid, so a reset after a different event would be simple.
How the first recording went
On the first live recording the host noticed the difference before the picture did: she could look at her guests without squinting. Rosa told us the three camera angles cut together without a visible jump in colour, and the back wall now gave the set some depth instead of a dark edge.
We stayed for the full programme, watching for drift as the fixtures warmed up and the daylight changed outside. Nothing needed correcting mid-show. We left Rosa a short sheet listing each fixture, its position and its setting, so her crew could reproduce the look on any recording day.
What Rosa's case taught us
The case reinforced a habit we keep: observe the room under real working conditions before drawing anything. A plan made from an empty studio would have missed the window and the way the crew actually moved around the desk. It also showed that a good result often comes from fewer, better-placed fixtures rather than more of them.
Mid autumn is a useful time for this kind of work. Daylight is changing quickly and studios that seemed fine in summer start to show their weaknesses. If a set looks inconsistent in these weeks, it is worth checking colour temperature and fixture age before assuming the cameras are at fault.
Rosa's studio was not short of equipment; it was short of a plan. By measuring first, fixing the colour temperature, separating the guests from the background and matching the cameras, we gave her crew a picture they could trust through a full recording. If your own set looks uneven, start by writing down what each fixture is doing, then ask what you want the viewer to see.
Keep reading
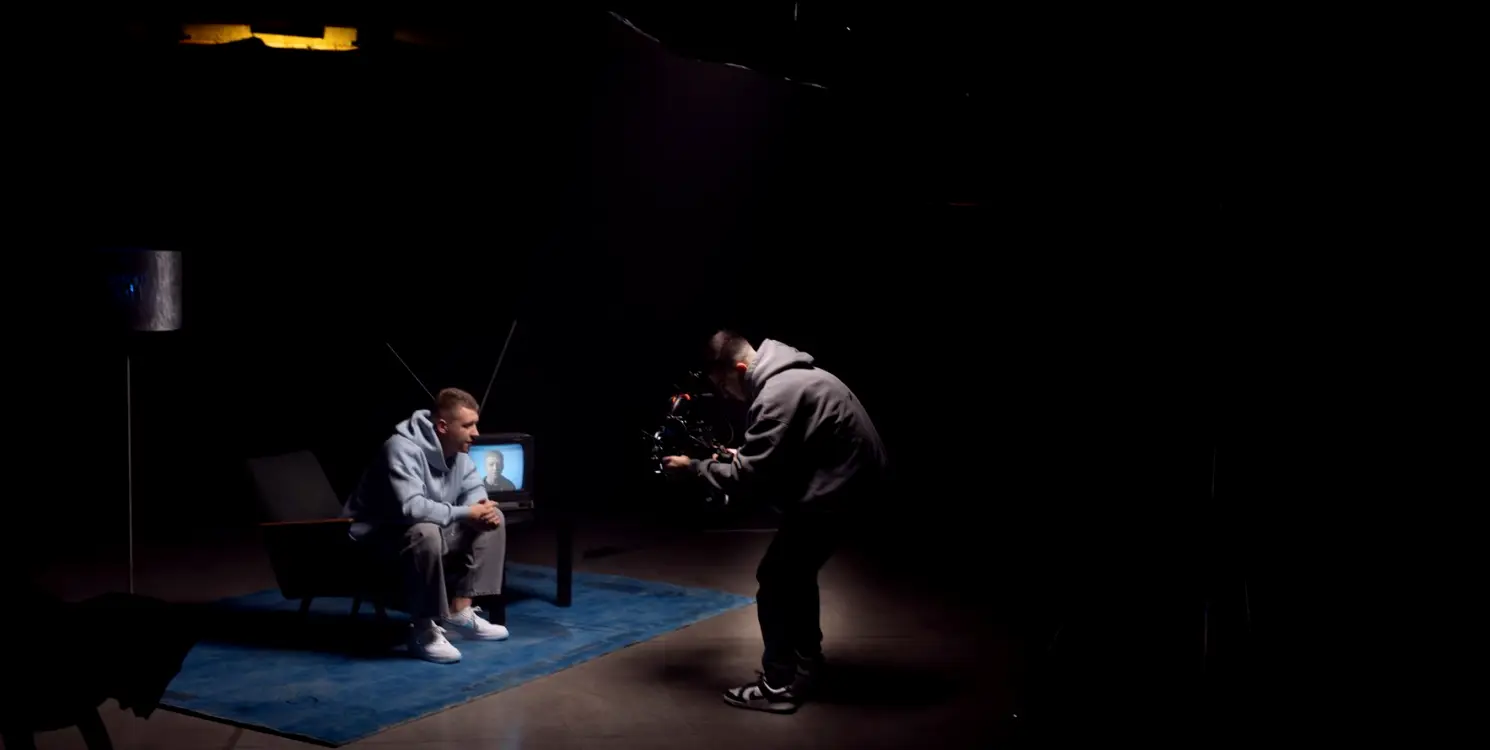
A Checklist to Work Through Before You Commit to a Lighting Plan
Before signing off a lighting design for a live studio, run through the room, the cameras, the talent and the rig itself. These are the questions we ask first.
Six Gallery Integration Mistakes and How to Avoid Them
Most live gallery faults trace back to decisions made before the first cable is pulled. Here are the integration mistakes we meet most often, and the checks that prevent them.
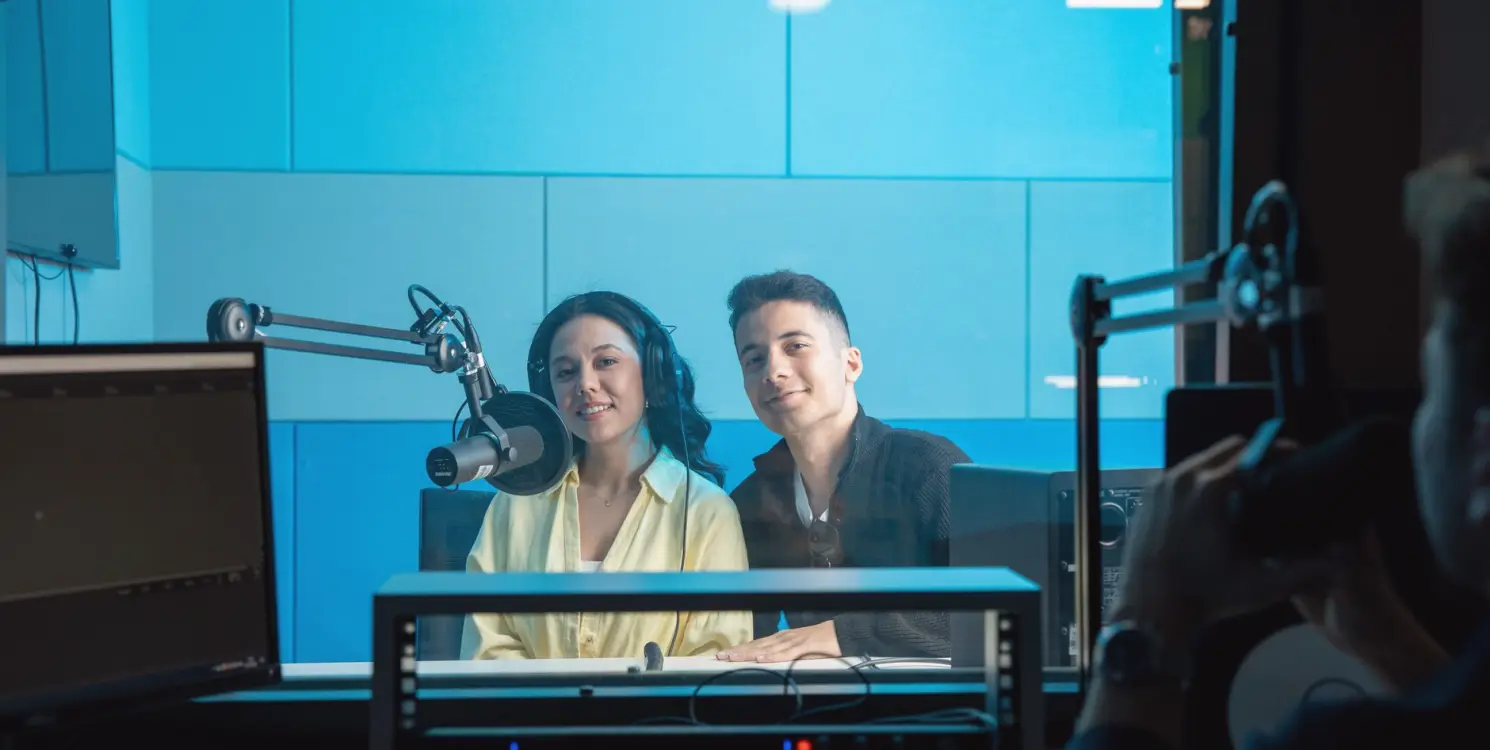
Colour temperature on a news set, explained in plain words
Why a presenter's face can look orange under one lamp and grey under another, and how we set kelvin values so every camera in a live studio agrees.
Helen Marsden
Head of Studio EngineeringHelen designs and commissions studio galleries, with a background in broadcast engineering across regional news.
Get in touch
Email: hello@vogueza.org