
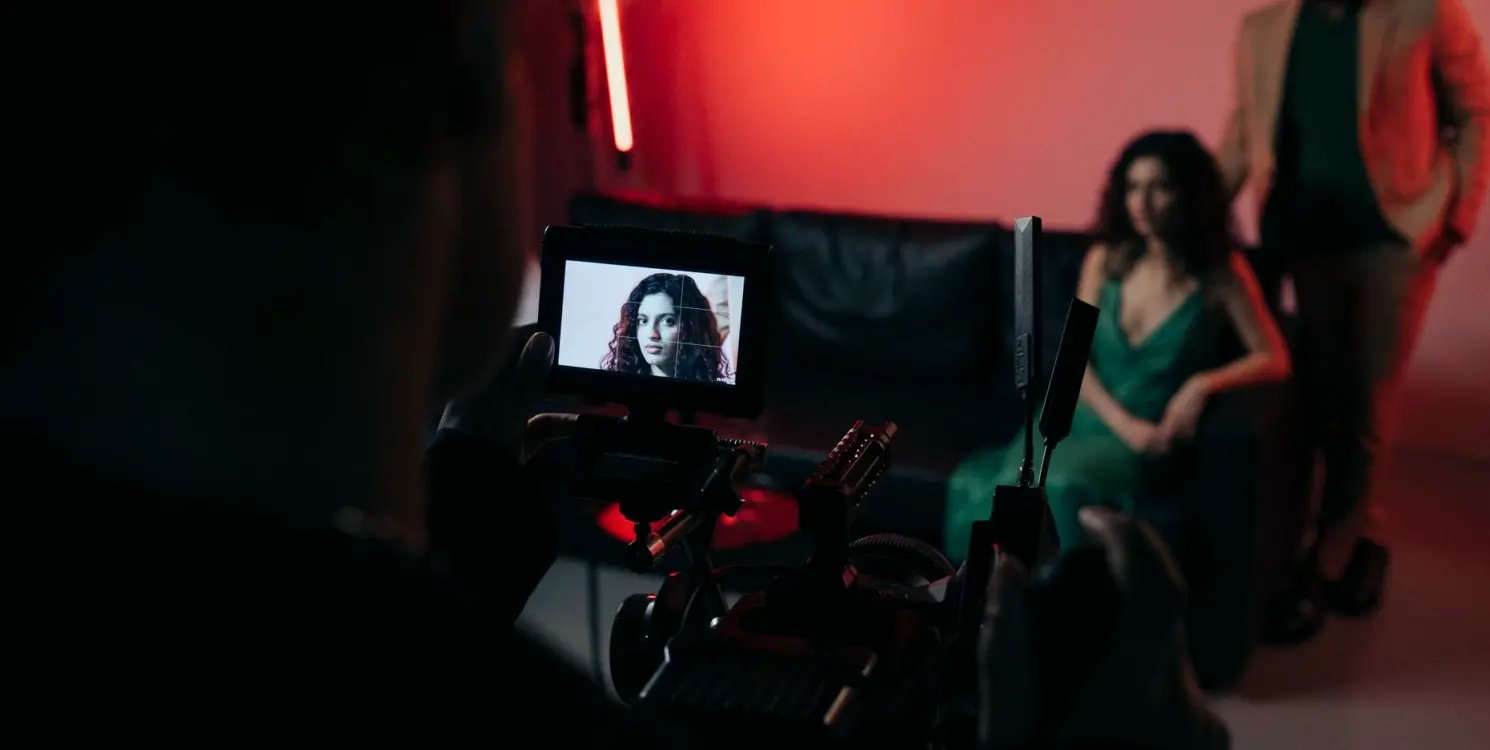
Why does my studio sound hollow on air, and what can be done about it
The question we hear most about acoustics: why speech sounds boxy on air even with good microphones. Helen Marsden explains what is usually behind it and how it is put right.
The question behind most acoustic enquiries
When a producer rings us about sound, the sentence is almost always the same: the microphones are good, the presenter has a fine voice, yet on air it sounds hollow, distant or boxy. It is a fair complaint, and it is rarely the microphone's fault. A microphone records the room as faithfully as it records the person, and a bare room adds its own voice to every sentence.
I am Helen Marsden, and in these mid autumn weeks, when many teams move back indoors and start new seasons of programmes, the question arrives more often. Studios that coped in summer with open doors and background noise suddenly sound exactly as they are. This article answers the question as plainly as I can, using the approach we follow under Acoustic Optimisation: measure first, treat second, place microphones last.
What a hollow sound actually is
Hollowness is mostly reflection. Speech leaves the presenter's mouth and travels in all directions. Some of it reaches the microphone directly; the rest strikes walls, ceiling, desk and glass and arrives a few milliseconds later. The microphone hears both, and the delayed copy smears the consonants and gives that cardboard-box colour.
Hard, parallel surfaces make it worse, because sound bounces between them repeatedly. A square studio with plasterboard walls, a glass desk and a bare floor is a textbook case. Low-frequency build-up adds a muddy weight to voices, while reflections from the desk top produce a thin, comb-like tone. None of this shows up on a camera monitor, which is why it often goes unnoticed until the first transmission.
How we measure before touching anything
Before we recommend a single panel, we measure the room. We play a test signal through a speaker at the presenter's position and record the response at the microphone positions actually used on air. From that we read how long sound lingers in the room, which frequencies ring, and where reflections arrive too loudly.
We also listen. Numbers confirm what the ear suspects, but a walk around the studio, speaking and clapping at different points, often reveals a problem a chart would only hint at. The result is a short written account of what is wrong and in what order it is worth fixing, so you can decide what to do without guessing.
- Reverberation time at speech positions
- Ringing frequencies and low-end build-up
- Strong early reflections from desks and glass
- Background noise from ventilation and lighting
Treatment that makes a difference
Treatment is about putting absorption where reflections are strongest, not covering every wall. Panels behind and beside the cameras, an absorbent cloth or rug under the desk, and soft material above the presenters usually do far more than foam stuck at random. Broadband absorbers of sufficient thickness handle speech frequencies; thin foam only tames the highest ones and can leave the room sounding dull.
Low-frequency control needs deeper absorbers in corners, and sometimes a change to the desk itself. We would rather make three well-chosen changes and re-measure than rebuild the room. In most studios of modest size, a clear improvement comes from a few panels, a desk surface change and a little patience while the result is checked on air.
Microphone placement still matters
Once the room is calmer, microphone position becomes the final adjustment. A lavalier clipped at the breastbone, a boom held just outside the frame, or a desk microphone on a stand each capture a different balance of voice and room. The closer and more directly aimed the microphone, the less room it hears.
We set distances by ear and by meter, then keep them consistent from guest to guest, since the quality people notice on air is often inconsistency: one speaker close and warm, the next distant and thin. A simple mark on the desk, a note in the rundown and a quick check during rehearsal remove most of that variation without any new equipment.
What to do before you call us
You can learn a lot yourself in an afternoon. Record a minute of speech at each seat, using the microphone and gain you use on air, and listen back on headphones. Clap once sharply and note how long the sound hangs. Switch off lights, fans and air handling in turn and hear what changes.
Bring these recordings and a rough floor plan with you. They let us see whether the problem is the room, the microphone choice or the noise floor, and they keep the first conversation short and useful. If the answer turns out to be a rug and a microphone move, we will say so.
- A minute of on-air speech recorded at each seat
- A rough floor plan with desk and camera positions
- A note of known noise sources in or near the studio
A hollow sound is almost always a room problem that can be measured, understood and reduced step by step. Start with the recordings, treat the strongest reflections, and fix microphone distances last. If you would like a second pair of ears on your studio, send us an enquiry through the contact page and we will talk through what the measurements are likely to show.
Keep reading

Colour temperature on a news set, explained in plain words
Why a presenter's face can look orange under one lamp and grey under another, and how we set kelvin values so every camera in a live studio agrees.
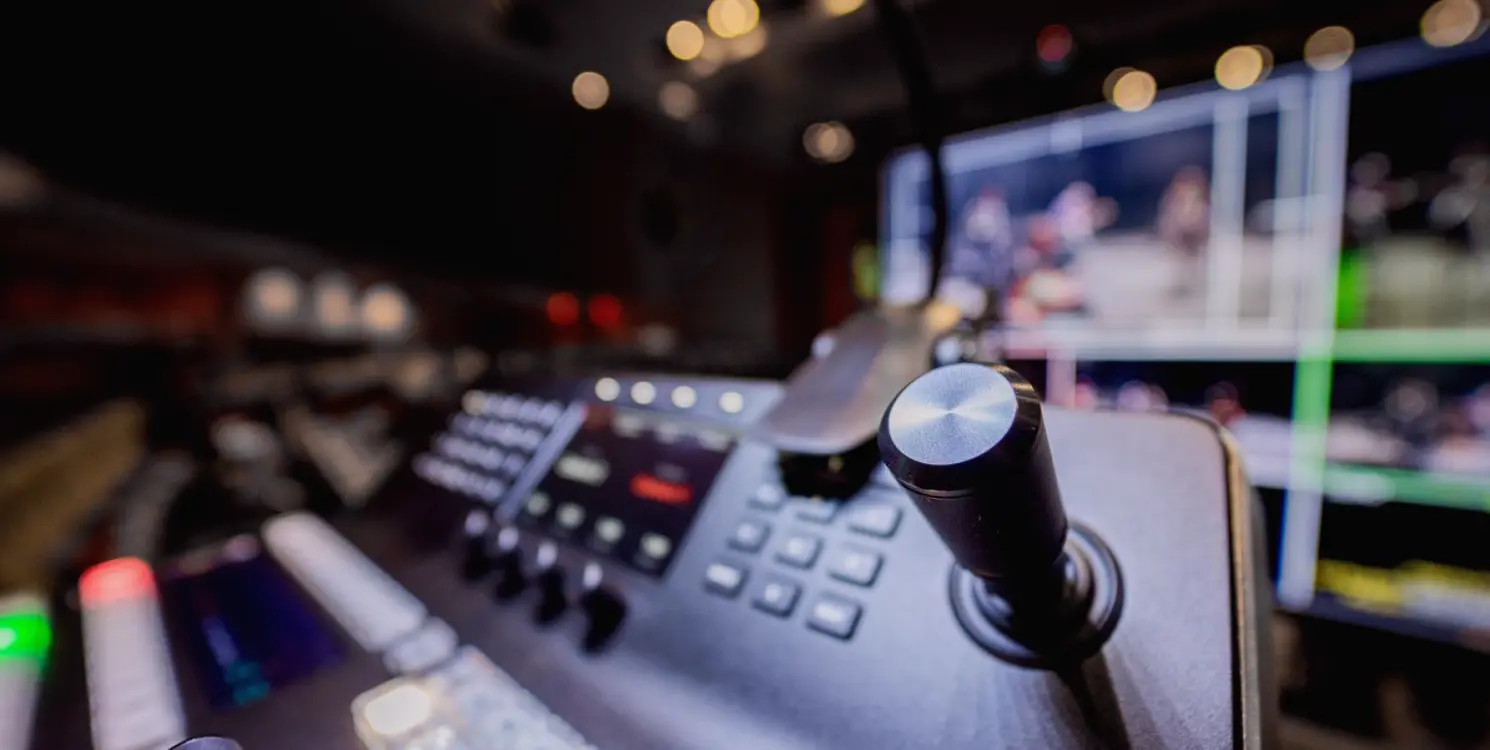
Camera crews and shot planning now available for live bulletins and panels
Our camera operation and direction service gives news bulletins, interviews and multi-camera live shows an experienced crew and a shot plan agreed before the first rehearsal.
Helen Marsden
Head of Studio EngineeringHelen designs and commissions studio galleries, with a background in broadcast engineering across regional news.
Get in touch
Email: hello@vogueza.org