
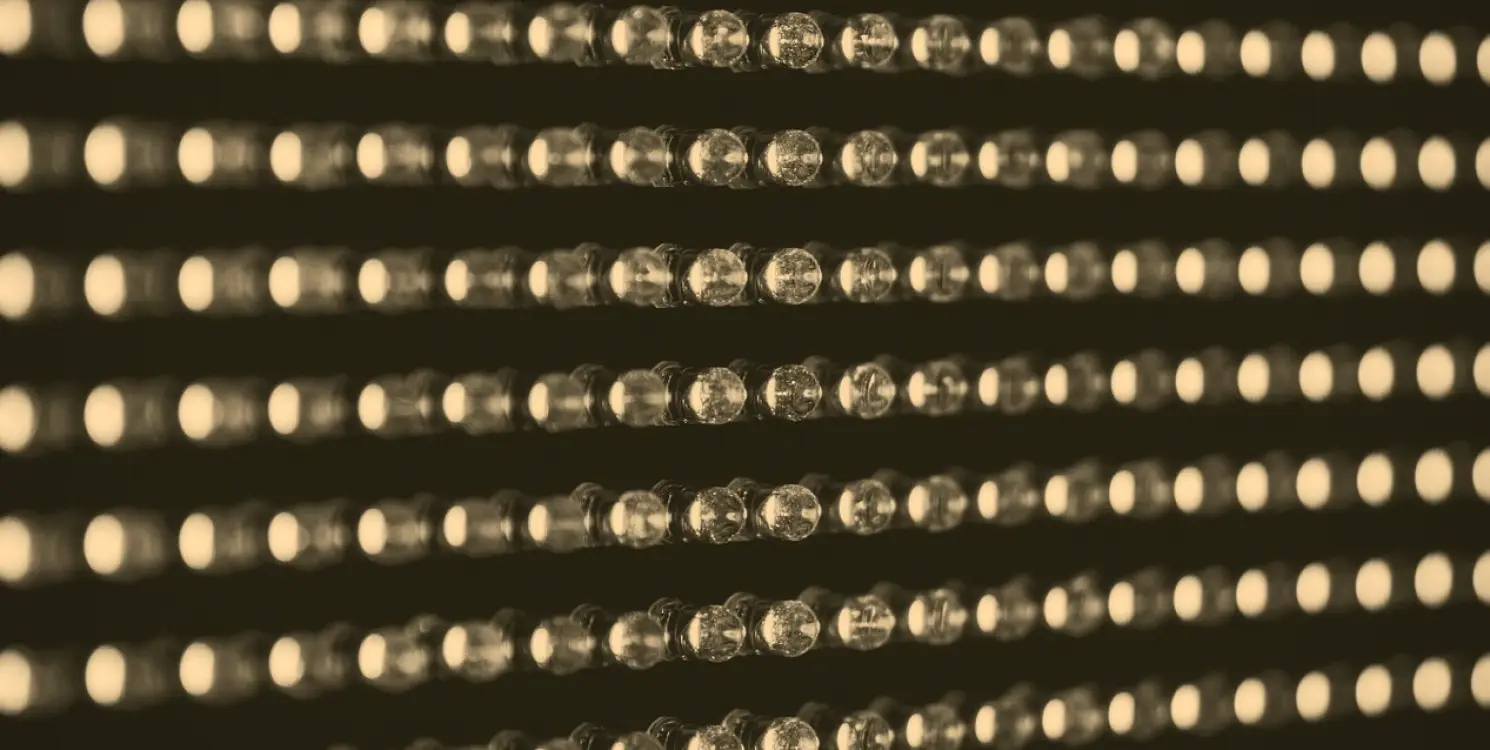
The lighting tools and methods we rely on when rigging a news studio
A look at the fixtures, measuring tools and rigging habits behind our lighting plans, and why each one earns its place when a studio has to look the same from the first bulletin to the last.
Starting with a meter, not a fixture
Before anyone climbs a ladder, we measure. A lighting plan that begins with a catalogue tends to end with compromises, so our first tools are a handheld light meter, a colour meter and a tape. We record the height of the grid, the distance from the desk to the back wall, and how much daylight reaches the set at the hours the programme will actually run.
Those numbers decide almost everything that follows. A low ceiling limits how far a key light can be raised before it starts to cast shadows under the eyes. A bright window beside the set means we either need blackout or enough output to overpower it. We write the figures into the plan so that the engineers, the director and the presenters all start from the same facts.
Priya Sandhu, who signs this note, works beside our lighting designer on exactly this stage, because a studio's reflective surfaces affect sound as well as picture. A glass wall that bounces light also bounces speech, and finding that early saves rework on both sides.
Why we favour LED fixtures for broadcast work
Most of the rigs we plan use LED panels and fresnel-style LED heads. They run cool, which matters in a small studio where a presenter sits under the key light for an hour or more, and they draw far less power than tungsten, which keeps the electrical survey simple. They also allow colour temperature and output to be set from a desk rather than by changing lamps.
We choose fixtures with a high colour rendering rating, because skin tones and set colours read differently on camera than they do to the eye. A cheap panel can look bright and still push faces towards green. We test candidate fixtures on a camera with a presenter standing in, and we compare them side by side before anything is specified.
Flicker is the other check. Some LED drivers pulse at a rate that is invisible in the room but shows up as banding at certain shutter speeds. We film a short test at the shutter settings the studio will use and reject anything that shows it.
- High colour rendering rating on every fixture
- Dimming that is smooth and free of steps
- Flicker tested at the studio's own shutter speed
Key, fill and background as separate jobs
The method we return to on nearly every set is to treat key, fill and background as three separate jobs with their own fixtures. The key shapes the face and sets the exposure. The fill controls how deep the shadows are. The background lights set and wall, and keeps the presenter from looking pasted onto a dark space.
Keeping them separate means each can be adjusted without upsetting the others. If a guest has a pale shirt, we lower the key slightly rather than chasing the problem with the camera. If the set looks flat, we change the background balance and leave the faces alone.
We usually place the key a little above eye level and off to one side of the lens, with the fill on the opposite side at a lower level. For a two-person interview we add a second key rather than stretching one fixture across both seats, which keeps both faces evenly lit when they turn towards each other.
Rigging hardware and safe working practice
The unglamorous part of the job is the metalwork. Fixtures hang from a pipe grid or a fixed bar using rated clamps, each with a secondary safety bond so that a failed clamp does not become a falling lamp. We check the loading of the grid against the weight of what we hang, and we leave a margin rather than filling every metre.
Cable runs are planned as carefully as the fixtures. Power and data are separated where practical, strain relief is fitted at each fixture, and every cable is labelled at both ends so that a fault can be traced in minutes instead of an afternoon.
We work from podium steps or a tower rather than makeshift ladders, and the rig is installed with the studio closed to others. Where a studio has no grid, we discuss stand-mounted or wall-bracket options openly, since they change both the look and the risk.
- Rated clamps with a secondary safety bond
- Grid loading checked with a working margin
- Cables labelled at both ends and strained relieved
Balancing the rig for the cameras in the room
A rig is only finished when it has been balanced for the cameras that will use it. We set the cameras to the same white point, place a grey card and a skin-tone reference on the presenter's seat, and adjust until every camera agrees. The vision engineer and lighting designer do this together, because each correction changes the other's work.
We then walk the set with a waveform monitor, looking for the places where exposure drifts: the edge of the desk, a guest who leans forward, the corner where a monitor throws its own glow. Small moves of a flag or a dimmer value remove those surprises before the first rehearsal.
The settings are saved and written down. When a bulb of the studio's own routine changes or someone knocks a fixture, the team has a record to return to, and the picture on a long broadcast stays steady from the opening headline to the final handover.
Keeping the setup repeatable after we leave
The last tool we hand over is a plain document. It lists each fixture, its position, its output level and its colour setting, with a simple diagram of the grid. It is written for the studio's own technicians, not for us, and it avoids jargon so that a new starter can follow it on their first week.
We also leave guidance on routine care: dusting the lenses of the fixtures, checking clamps at regular intervals, and noting when a unit starts to drift in colour. These small habits keep a rig reliable far longer than any single clever piece of equipment.
If a studio later changes its set or adds a camera position, the same measuring steps apply again. The method is deliberately simple, so that the people who work in the room every day can rely on it long after the installation is done.
Good broadcast lighting rests on ordinary, well-chosen tools used in a fixed order: measure the room, choose fixtures that render faces honestly, separate key, fill and background, rig them safely and balance them against the cameras. None of it is dramatic, and that is the point. A studio lit this way looks the same on a long evening bulletin as it did at the morning rehearsal.
Keep reading
Camera crews and shot planning now available for live bulletins and panels
Our camera operation and direction service gives news bulletins, interviews and multi-camera live shows an experienced crew and a shot plan agreed before the first rehearsal.
Commissioning a Studio Gallery: A Practical Walk-Through Before Go-Live
A practical guide to testing vision mixers, monitors, intercom and routing as one system, so the gallery is proven end to end before the first live programme goes out.
Priya Sandhu
Acoustics SpecialistPriya measures and treats rooms so presenters and guests are heard clearly on air.
Get in touch
Email: hello@vogueza.org